Home Improvement Projects by Difficulty: What to Tackle First and What to Skip
Every home improvement project looks reasonable on a video that’s edited down to four minutes. The reality, once you’ve got the materials in your garage and the weekend actually started, is usually a little messier and a little slower than expected.
That’s not a reason to avoid projects, it’s just a reason to plan for them honestly, based on what a project actually requires rather than how satisfying the finished result looks.
I’ve sorted the projects below by difficulty, because that’s the variable that trips people up most often. A project isn’t just its cost, it’s the skill it demands, the time it eats, and how forgiving it is if something goes slightly wrong along the way.
Some projects here are genuinely beginner friendly. Others need real planning or a professional, and I’ll say so directly.
Beginner Level Projects (One Afternoon, Minimal Risk)
Repainting a room. The most common home improvement project for a reason. It requires patience more than skill, and mistakes are almost always fixable with another coat.
Installing a new light fixture on an existing switch. If you’re replacing a fixture on the same wiring rather than adding a new circuit, this is manageable for a careful beginner who turns off the breaker first and double checks with a voltage tester before touching any wires.
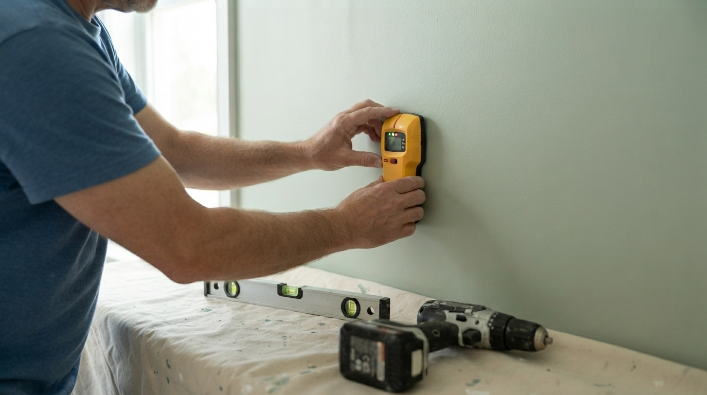
Building simple shelving. Basic wall mounted shelves with proper studs and anchors are a good introduction to using a level, a drill, and a stud finder together.
Re-caulking around tubs, sinks, and windows. Low cost, low risk, and it directly prevents water damage, which makes it one of the higher value beginner projects on this list relative to effort.
Intermediate Projects (A Full Weekend, Some Risk If Rushed)
Installing luxury vinyl plank or laminate flooring. Floating floor systems are designed for DIY installation, but getting a professional looking result depends on proper subfloor prep and patience with expansion gaps around the perimeter.
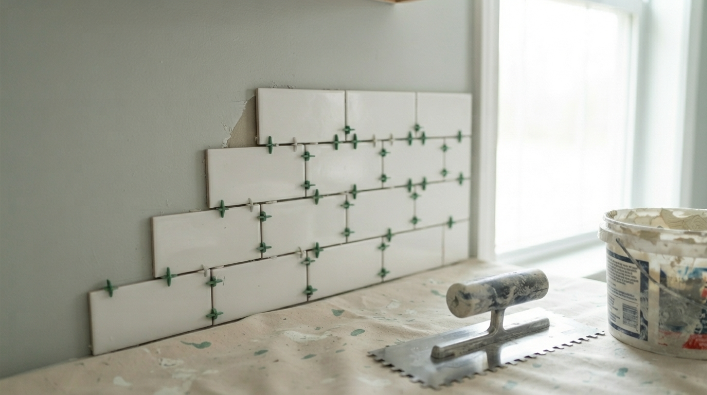
Tiling a small backsplash. Tiling rewards planning. Dry laying your pattern before any adhesive goes down, and starting from a centered layout rather than a corner, prevents the most common beginner mistakes.
Hanging and finishing drywall for a small patch or closet. Drywall itself isn’t complicated, but finishing it so the seams are invisible takes a few practice attempts. Budget extra time for sanding between coats of joint compound.
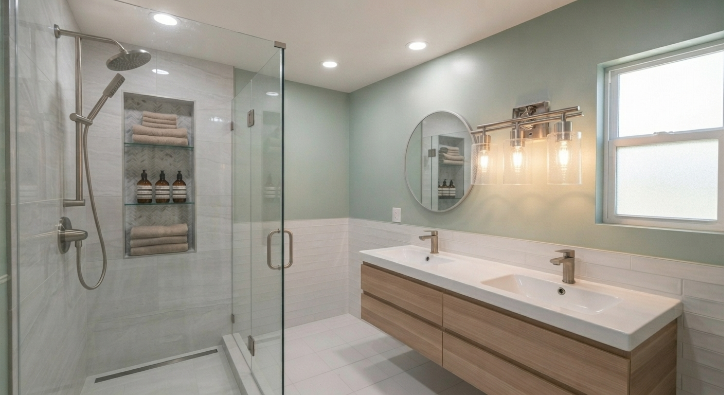
Replacing a bathroom vanity. This involves basic plumbing connections (supply lines and a P trap), which is approachable for most people but does require turning off the water supply correctly and testing for leaks before considering the project done.
Advanced Projects (Multiple Weekends or a Professional)
Anything involving your electrical panel or new circuits. This is where I’d stop and call a licensed electrician. The risk of fire or injury from incorrect wiring isn’t proportional to how simple the task might look.
Structural changes, including load bearing walls. As covered in more detail in renovation planning, this requires an engineer’s assessment, not a guess based on how a wall looks.
Roofing repairs or replacement. Beyond the fall risk, which is significant, an improperly sealed roof repair can cause water damage that costs far more to fix than the original problem.
Major plumbing rerouting. Moving a bathroom or kitchen to a new location in the house involves drain slope requirements and code considerations that go well beyond swapping a fixture.
Planning Your Project Timeline Honestly
A pattern I see constantly: someone plans a project assuming everything goes right on the first try, then gets discouraged when it doesn’t.
A more realistic approach is to build in buffer time, particularly for anything involving drying time (paint, adhesive, joint compound, grout) since rushing these steps is the single most common cause of a project needing to be redone.
For DIY energy related projects specifically, like adding insulation or air sealing gaps, the Department of Energy’s Energy Saver program offers step by step guidance that’s genuinely written for a homeowner doing the work themselves, not just a summary for professionals.
Before starting anything that involves a ladder, whether that’s gutter cleaning, exterior painting, or fixture replacement in a high ceiling room, it’s worth a quick refresher on basic ladder positioning and footing, covered well in PBS Hometime’s home DIY safety overview.
Ladder related injuries are common precisely because people treat the ladder as an afterthought rather than part of the project. Also read Home Renovation Ideas: How to Plan Upgrades That Are Worth the Disruption.
A Practical Scenario: When a Simple Project Reveals a Bigger One
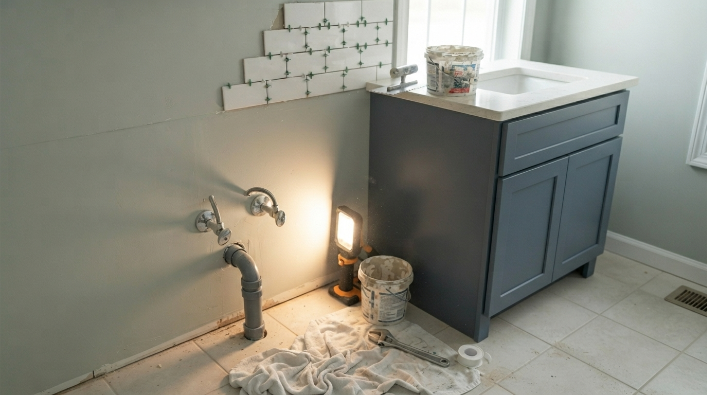
Picture a homeowner planning what should be a simple weekend project, replacing a bathroom vanity. Once the old one comes out, they discover soft, water damaged subfloor underneath, invisible until that moment.
This is a genuinely common experience with older fixtures, and it’s exactly why a realistic project plan includes a little slack in both time and budget, especially for projects behind or underneath existing fixtures where you can’t fully assess condition until you start.
The lesson isn’t to avoid the project, it’s to expect that projects touching existing plumbing or flooring sometimes uncover work you didn’t plan for, and to have a rough sense of your tolerance for that before you begin.
Conclusion:
Home improvement projects go smoothest when the difficulty level matches your actual experience, not your ambition for the weekend.
Start with the beginner projects if you’re newer to this, build confidence and a basic toolkit, and treat anything on the advanced list as a genuine decision point rather than something to attempt because a tutorial made it look easy. The house will still be there next weekend.
FAQs
What home improvement projects should a beginner start with?
Painting, basic shelving, hardware swaps, and re-caulking are the most forgiving starting points, since mistakes are low cost and usually fixable without redoing the whole project.
How much time should I budget for a typical weekend home improvement project?
Plan for the project to take about fifty percent longer than you initially expect, especially if it involves drying or curing time like paint, grout, or joint compound, since rushing these steps is the most common reason projects need rework.
Which home improvement projects actually require a professional?
Electrical panel work, gas line work, structural or load bearing changes, and major roofing repairs are the clearest cases where a licensed professional isn’t optional, both for safety and often for code compliance and insurance purposes.
How do I know if a home improvement project needs a permit?
Generally, structural changes, new electrical circuits, and plumbing relocation require permits, while cosmetic work like painting, flooring, and fixture swaps on existing lines usually doesn’t. Local rules vary, so a quick call to your building department before starting is worth the ten minutes it takes.
What’s the most commonly underestimated cost in home improvement projects?
Time, more than money, tends to get underestimated. Drying and curing times, and the possibility of discovering an underlying issue once you open up a wall or remove a fixture, are the two things that most often stretch a planned one day project into a multi weekend one.