DIY Home Improvement Projects: Tools, Prep, and Mistakes Worth Avoiding
The difference between a DIY project that goes well and one that doesn’t usually isn’t skill, it’s preparation.
I’ve redone more than one project because I skipped a step that felt optional in the moment, sanding between coats, checking a level twice instead of once, reading the full instructions before cutting anything.
None of these mistakes were about not being handy enough. They were about rushing the parts of the process that don’t look like “real work” but actually determine whether the finished project holds up.
This article is less about a list of projects and more about what actually makes DIY home improvement projects succeed: the tools worth owning before you start, the prep steps people skip, the safety basics that matter even for small jobs, and the mistakes that come up again and again across totally different kinds of projects.
The Tool Kit That Covers Most DIY Home Improvement Projects
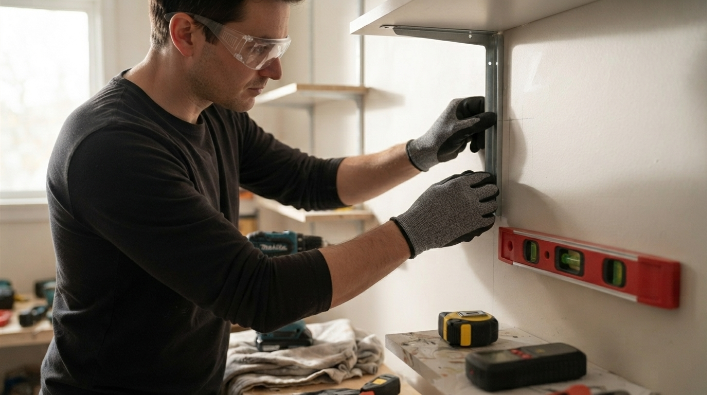
You don’t need a garage full of specialty tools to start. A genuinely useful starter kit covers a surprising range of projects:
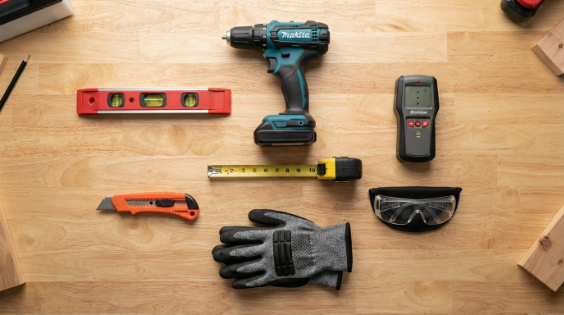
- A cordless drill driver with a basic bit set
- A quality tape measure and a torpedo level
- A stud finder
- A utility knife and painter’s tape
- A basic hand tool set: hammer, adjustable wrench, pliers, screwdrivers
- Safety glasses and work gloves
- A shop vacuum for cleanup, which matters more than people expect for keeping dust out of paint and finish work
From here, most people add tools as specific projects demand them, a jigsaw for cutting shapes, a tile cutter for a backsplash, an oscillating multi tool for tricky trim cuts.
Buying tools reactively, as a project actually requires them, tends to be more cost effective than trying to anticipate every future project up front.
Preparation Steps People Skip (And Regret)
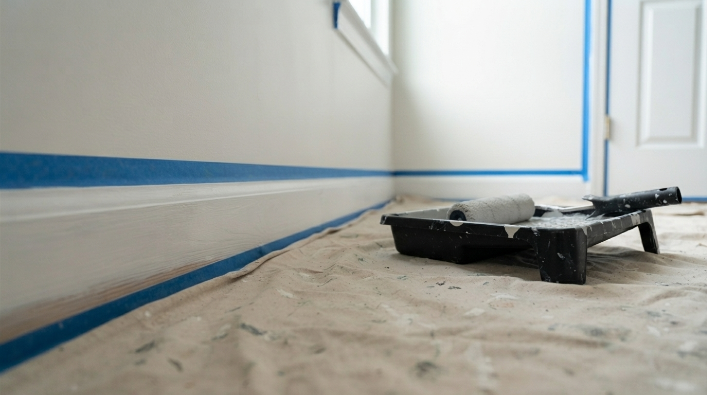
Not protecting the work area. Drop cloths, painter’s tape along edges, and removing or covering furniture take twenty minutes and save hours of cleanup, plus they prevent damage to surfaces you’re not working on.
Skipping the dry run. For anything involving cutting, tile layout, or shelving placement, laying everything out before committing (cutting, gluing, or drilling) catches spacing problems while they’re still easy to fix.
Not reading the full instructions before starting. This sounds obvious, but the number of DIY projects that go sideways because someone started cutting before realizing a measurement was off, or a step needed to happen in a different order, is genuinely high.
Underestimating drying and curing times. Paint, wood glue, tile adhesive, and joint compound all have manufacturer specified times for a reason. Handling or loading a surface too early is one of the most common causes of a DIY project needing to be redone. Also read Home Renovation Ideas: How to Plan Upgrades That Are Worth the Disruption.
Safety Basics That Apply Even to Small DIY Projects
It’s easy to treat safety gear as something for bigger jobs, but a lot of DIY injuries happen on projects that felt too small to worry about. A few basics apply almost universally:
Wear safety glasses any time you’re cutting, sanding, drilling, or hammering, not just for power tool heavy projects. According to the Consumer Product Safety Commission’s home power tool safety checklist, eye protection and checking that extension cords are undamaged and properly rated for outdoor use are two of the simplest, most consistently skipped safety steps.
If your home was built before 1978 and your project involves sanding, scraping, or cutting into painted surfaces, check the EPA’s lead safe renovation guidance first. This isn’t just relevant for contractors, it applies to do it yourselfers too, since disturbing lead based paint without proper precautions can create dust hazards that linger long after the project is finished.
For any project involving a ladder, even something as ordinary as changing a light fixture in a high ceiling room, proper footing and angle matter more than people assume. PBS Hometime’s home DIY safety guide covers ladder positioning basics that are worth a quick read even if you’ve used a ladder plenty of times before, since most ladder injuries happen from small, avoidable setup mistakes rather than unusual circumstances.
Common Mistakes Across Different DIY Projects
Buying the cheapest version of a tool you’ll use often. A budget drill for an occasional project is fine. A budget drill for a project involving dozens of screws will likely frustrate you into buying a better one anyway, so it’s often cheaper to buy the mid range option once.
Painting over an unprepared surface. Skipping cleaning, sanding glossy surfaces, or priming over stains leads to peeling or uneven finish later, even if the fresh coat looks fine on day one.
Not turning off power or water before starting. For any project touching a light fixture, outlet, or plumbing connection, confirming the breaker or shutoff valve is actually off, not just assumed off, takes thirty seconds and prevents the most common beginner DIY mishaps.
Ignoring manufacturer specifications for anchors and fasteners. A shelf or fixture rated to hold weight only does so if it’s anchored into a stud or with anchors rated for the actual wall material, not just whatever screw happened to be in the drawer.
A Practical Scenario: The Half Finished Project Trap
A common pattern worth naming as a hypothetical: someone starts a DIY project on a Saturday morning, gets through the fun, visible part (say, hanging new shelving) by early afternoon, then leaves the less satisfying finishing steps (filling screw holes, touch up paint, cleaning up hardware packaging) for “later.”
Weeks later, the project is technically done but visibly unfinished. The fix isn’t a different skill, it’s budgeting time for the last twenty percent of a project, which is almost always less interesting than the first eighty percent but is what actually makes the difference between something that looks DIY and something that looks finished.
Conclusion:
DIY home improvement projects reward patience more than talent. The tools matter less than most people think starting out, and the mistakes that actually derail a project are almost always about skipped preparation or rushed finishing steps rather than a lack of ability.
Start with a project that matches your current comfort level, protect the space you’re working in, and give yourself permission to finish the boring last steps before calling it done.
FAQs
What tools do I actually need to start DIY home improvement projects?
A cordless drill, tape measure, level, stud finder, basic hand tools, safety glasses, and painter’s tape cover the majority of beginner projects. Specialty tools are worth buying as specific projects require them rather than all at once.
Are DIY home improvement projects actually cheaper than hiring someone?
Usually yes for materials and labor cost, but only if the project is completed correctly the first time. A DIY project that needs to be redone due to a mistake can end up costing close to or more than hiring a professional from the start, so honestly assessing your skill level matters as much as the cost comparison.
What DIY home improvement projects should I avoid doing myself?
Anything involving your electrical panel, gas lines, structural walls, or major roofing work is best left to a licensed professional, both for safety and because these areas are commonly regulated by code and permitting requirements.
How do I know if my house has lead paint before starting a DIY project?
If your home was built before 1978, it’s reasonable to assume lead based paint may be present unless testing says otherwise. EPA recognized test kits are available, and their lead safe renovation guidance explains the recommended precautions for sanding or disturbing painted surfaces.
What’s the biggest mistake beginners make on DIY home improvement projects?
Skipping preparation steps, like protecting the work area, dry fitting pieces before committing, and reading full instructions before starting, causes more redo work than lack of skill does. Slowing down at the start of a project usually saves time overall.